

Last verified: October 5, 2026, for the live WARDOGS Early Access Season 1 build. WARDOGS is still evolving, so weapon balance, prices, and unlock ordering may change between seasons.
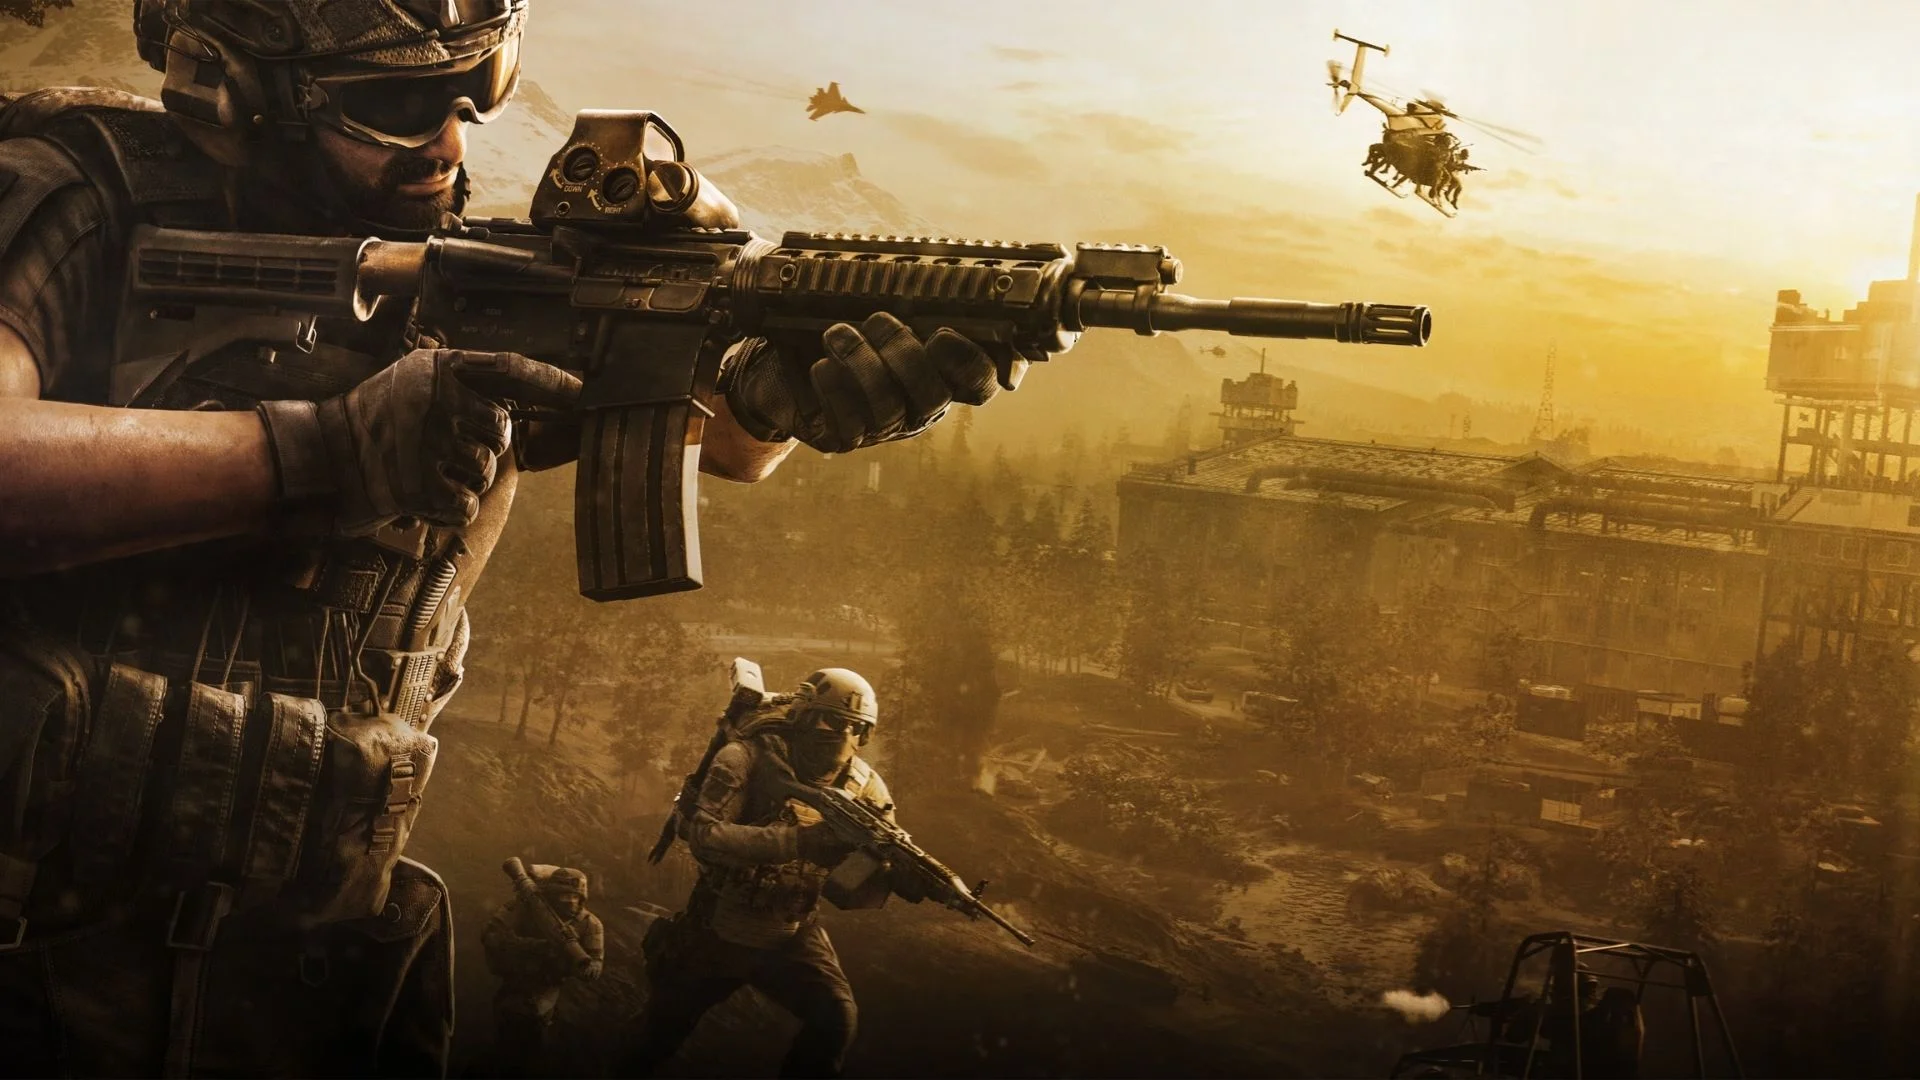
WARDOGS looks familiar if you have played large-scale military shooters, but its persistent cash economy changes every decision. Your rifle, armor, medical supplies, and vehicles all have a cost, while useful team actions put money back into your account. This WARDOGS guide brings the beginner essentials, best weapon and vehicle choices by job, practical loadouts, roles, progression, and money strategies together in one place.
BULKHEAD’s shooter launched for Windows PC through Steam Early Access on September 10, 2026, making it one of the notable titles in our September 2026 game release guide. The live version supports up to 100 players divided among three teams. Each match centers on a randomized Control Zone, and the first team to 100 points wins.
We reviewed every official WARDOGS announcement published after the guide’s previous September 13 verification. Patch 0.11, Update 0.1.2, and the October 2 hotfixes changed economy safeguards, some vehicle interactions, and one current equipment option, but did not publish new weapon damage values, item prices, role unlock levels, or a replacement progression curve.
BULKHEAD has announced WARDOGS Season 2 for October 15, 2026. That update is not live yet, so this guide does not apply unreleased balance changes or content to the current Season 1 recommendations.
WARDOGS beginner guide: what to know first
Your first goal is not to buy the most impressive kit. It is to stay useful without emptying your wallet. Every death can force another purchase, so a modest kit that survives two encounters is often worth more than premium equipment lost immediately.
- Play the objective. Bodies inside the Control Zone decide the match. The Hot Zone can pay double cash, but it also attracts more pressure.
- Use transport. The battlefield is too large for repeated walks from headquarters. Wait briefly for a competent pilot or driver instead of purchasing a vehicle with no plan.
- Carry a complete kit, not an overloaded one. A primary weapon, compatible ammunition, bandages, a usable sight, and one role gadget cover most early needs.
- Value a revive. Staying alive protects your current equipment. When downed, give nearby medics time to work unless remaining in place is clearly unsafe.
- Use cover and information. Buildings, terrain, smoke, and friendly spotting matter more than sprinting directly toward the marker.
- Communicate carefully. Proximity voice chat can be heard locally, including by enemies. Avoid exposing a medic or teammate who is moving toward you.
- Loot before rebuying. Fallen players can leave ammunition, medical supplies, armor, and weapons. A safe backpack can refill a depleted kit without another vendor bill.
A useful launch-day PC Gamer field guide also highlights two practical vendor habits: buy loose ammunition instead of filling every inventory slot with magazines, and use the Re-buy Loadout button before purchasing anything else if you want to rebuild the previous kit. Loose ammunition can replenish compatible magazines from the inventory, although doing so takes time.
How the WARDOGS economy works
The official WARDOGS overview confirms that every new player begins with $10,000. Cash persists from match to match, and each life begins with a custom purchase. A death therefore has two costs: the tactical loss to the team and the replacement cost of the equipment you carried.
You earn money by contributing. Official examples include reviving squadmates, transporting friendly players to the objective, and controlling the zone. The game also rewards information and support work, including spotting enemies, building useful defenses, delivering supplies, and helping remove hostile vehicles or forward bases.
The important distinction is between income and profit. A costly vehicle can generate a large gross return and still be a bad purchase if it is destroyed on the first trip. A cheap rifle and binoculars can be highly profitable if they let you survive, spot targets, and spend time on the objective.
When to save and when to spend
Save when you are learning a route, joining an uncoordinated squad, or recovering from several expensive deaths. Spend when the purchase solves a clear battlefield problem and you have the knowledge or crew to use it. Armor is sensible when it protects an already capable kit. A transport is sensible when passengers are ready. Anti-vehicle equipment is sensible when hostile armor is controlling access to the zone.
Do not treat your last cash as a challenge to build one heroic loadout. Keep enough reserve to field several basic lives. If the expensive life fails, step back to a cheaper kit instead of chasing the loss with an even larger purchase.
Best starting loadout in WARDOGS
The best beginner loadout is a low-risk general-purpose kit, not a miniature armory. Build around the starter Bushmaster M17S or another rifle you can control, then add only the items you expect to use.
- Primary: Bushmaster M17S for a low-risk start, or the T-21 once you want a full-auto 5.56mm option.
- Optic: a simple red-dot sight if available. Clear target acquisition matters more than magnification in a first kit.
- Ammunition: two spare magazines plus a stack of compatible loose ammunition.
- Medical: three to five bandages. Add specialized medical equipment only when you intend to revive actively.
- Role gadget: binoculars are the safest universal choice. A hammer, medical tool, or launcher is better when your plan is specifically building, healing, or fighting vehicles.
- Protection: use affordable armor and a helmet when they leave a healthy cash reserve. Do not build a top-heavy kit around protection you cannot repeatedly replace.
Current attachment note: BULKHEAD disabled IR Rangefinders in the vendor through the remainder of Season 1 because the developer considered them overpowered. They are due to return in Season 2 with a battery requirement, but that announced future behavior is not part of the live October 5 build. Do not plan a current loadout around buying one.
As your balance grows, move from basic to balanced by improving one weakness at a time. Add a better sight, armor, or a specialized gadget before replacing every component. High-risk kits make sense only when the squad has a clear objective, transport, and support plan.
Best weapons in WARDOGS by use case
Season 1 is too new for a permanent, evidence-backed weapon tier list. The safer approach is to choose a strong fit for the engagement you intend to take. The recommendations below use weapons listed in the current live catalog, but they avoid unverified beta statistics and temporary price comparisons.
| Use case | Recommended weapon | Why it fits |
|---|---|---|
| Low-risk starter | Bushmaster M17S | A controllable 5.56mm semi-auto and burst rifle that lets a new player learn positioning without centering the entire budget on the gun. |
| General-purpose rifle | T-21 | Full-auto capability and broad attachment support make it flexible at the short and medium distances common around the Control Zone. |
| Close range | Super-45 | An SMG suits aggressive room clearing and mobile Medic play where fast follow-up shots matter more than long-range precision. |
| Medium range | SVD | A semi-automatic marksman rifle offers repeat shots and reach without committing to a slower dedicated sniper setup. |
| Long range | SV98 | A dedicated sniper choice for players who already understand sightlines, ranging, and the value of relocating after firing. |
| Anti-vehicle | RPG-7 | A practical Support-track launcher for threatening light vehicles, damaging heavier targets, and attacking exposed structures. |
The “best” weapon is the one that matches your role and expected range while leaving enough money for ammunition, healing, and protection. An expensive rifle with no spare ammunition is not a complete loadout. Likewise, a sniper rifle is a poor investment if the squad needs another body inside the zone.
Use automatic fire for close threats and controlled bursts at distance. Hold Shift while aiming when you need to reduce sway, and do not keep firing from the same window after revealing your position. For armored targets, coordinate launchers and aim for consistent hits rather than spending rockets on difficult angles.
Best vehicles in WARDOGS by role
There is no single best WARDOGS vehicle. A transport that delivers eight useful players can influence a match more than a tank with no infantry support. Buy by mission, fill the seats, and know the return route before leaving the vendor area.
| Battlefield role | Strong choice | Strengths | Main weakness |
|---|---|---|---|
| Squad transport | Kodiak Assault or Kodiak Pickup | Fast ground movement with room for a useful group; armed variants can defend the trip. | Passengers and gunner are vulnerable if the driver stops in exposed terrain. |
| Logistics | Ural | Built for moving players or supplies and developing the Driver track through team service. | Slower and easier to ambush than light transport. |
| Fast utility | Dune Buggy | Useful for quick repositioning, scouting, and small-team movement. | Limited protection makes direct combat a poor plan. |
| Air transport | Z20 Lakota | A larger helicopter suited to moving squads and supplies. Season 1 also received a handling balance pass. | A valuable, visible target that demands a capable pilot and safe landing zone. |
| Armored combat | L2A6 heavy tank | Powerful direct fire and protection for a coordinated ground push. | A high-investment Driver unlock that becomes vulnerable without infantry support and repairs. |
| Anti-air | Flakpanzer Gepard | Specialized pressure against helicopters and aircraft operating near the objective. | Narrower value when the enemy air threat is low. |
| Air combat | Havoc | A two-seat attack helicopter that can support a push when pilot and gunner coordinate. | Expensive to lose; the October 2 balance hotfix makes a CIWS destroy a Havoc in around six seconds. |
| Long-range support | SPH-2 artillery | Can punish fixed positions and fortified areas from distance. | Late Career unlock, high commitment, and dependent on good information from the front. |
The official Season 1 notes moved the Ural to Driver level 3, Kodiak Assault to level 6, Dune Buggy to level 8, and the heavy tank to Driver level 35. Those launch values supersede beta unlock tables. The same update reduced the unlock cost of the Ural and Z20 Lakota while raising the minigun Little Bird’s cost, another reason not to rely on old beta shopping guides.
Update 0.1.2 fixed a bug that made the Havoc take increased damage from 20 mm and 30 mm cannon fire. The October 2 server-side balance hotfix then strengthened the CIWS against the Havoc, reducing the stated destruction time from about 12 seconds to about six. Pilots should treat CIWS-protected airspace as a major threat and avoid repeated straight approaches.
WARDOGS roles explained
WARDOGS does not lock a character into one rigid class. Your equipment and actions determine the job you perform, while progress is divided among six role tracks. An account-wide Wardog or Career track handles general unlocks that do not belong to one specialty.
| Track | What it does | Best for |
|---|---|---|
| Assault (Infantry XP) | Frontline fighting with assault weapons and direct pressure on contested ground. | Players who want flexible gunfights and objective pushes. |
| Medic | Healing, reviving, and keeping expensive friendly kits in play. | Team-focused players who want reliable action near the front. |
| Recon | Spotting, marking, and engaging from longer sightlines. | Patient players who communicate target information. |
| Support | Building, repair, resupply, explosives, and anti-vehicle work. | Players who like solving battlefield problems beyond rifle kills. |
| Driver | Ground transport, logistics, and combat vehicles. | Route planners and coordinated crews. |
| Pilot | Air transport, aerial logistics, and combat aviation. | Experienced flyers who can preserve an expensive vehicle. |
| Wardog / Career | Account-wide progression for general equipment and major unlocks. | Every player, regardless of chosen specialty. |
You can combine equipment from multiple tracks in one life, but specialization speeds up a specific goal. If you want better Driver unlocks, spend time completing transport and vehicle jobs rather than buying a rifle and ignoring the vehicle. If you want Medic progress, stay close enough to the front to heal and revive safely.
WARDOGS progression and Season 1 unlocks
Cash and XP solve different problems. Cash buys or replaces equipment. XP raises the relevant role and opens access to new options. Reaching a requirement may still leave an unlock fee and a per-life purchase cost, so “unlocked” does not mean “free.”
BULKHEAD explicitly replaced beta pacing for Season 1. The launch curve is slower from levels 10 through 20 and flattens from level 35 onward. The developer’s target puts a median player around level 20 after roughly 20 to 25 hours, while major late unlocks are intended for committed players. Each season can use a different XP curve and item order.
Verified Season 1 milestones worth planning around
- Driver 3: Ural.
- Driver 6: Kodiak Assault.
- Driver 8: Dune Buggy.
- Support 8: Large Hammer.
- Driver 10: Kodiak Flatbed.
- Driver 16: Large Supply Crate.
- Driver 18: Ural Covered.
- Driver 25: Ural Attack.
- Driver 30: Humvee with minigun.
- Driver 35: Heavy Tank.
- Career 90: Artillery Tank.
Prioritize unlocks that improve your ordinary matches. Binoculars, medical capability, a dependable rifle, early transport, and an anti-vehicle answer usually create more opportunities than saving every resource for a prestige item you will rarely field.
How to make money faster in WARDOGS
The fastest sustainable strategy is to stack useful actions while minimizing replacement costs. These methods remain valuable because they support the team rather than exploiting an economy edge.
- Spot from a useful position. Binoculars mark enemies and vehicles for the team. Successful follow-up kills can turn safe reconnaissance into steady income and Recon progress.
- Heal and revive near active fights. A careful Medic can earn repeatedly while preventing teammates from losing their kits. Clear the immediate threat first, use smoke when appropriate, and do not attempt every exposed revive.
- Move players to the fight. Transport income is strongest when the driver or pilot runs a dependable loop between spawn, friendly bases, and a safe approach to the zone.
- Play inside the objective. Controlling the zone directly pays and advances the only score that wins the match. The Hot Zone offers double cash, but only take that risk with a route and cover.
- Deliver supplies that the front needs. Coordinate with builders before loading a vehicle. Random cargo and empty return trips waste time and expose your investment.
- Build with a purpose. A forward operating base, defensive position, or repair point should support a route, chokepoint, or objective. Building far from the active battle may generate activity without enough strategic return.
- Salvage safely. Loot ammunition and replacement gear after the area is secure. Do not trade a living kit for a backpack in an open road.
Avoid cash or XP farming servers and any method based on repeating a bug. Patch 0.11 fixed additional cash exploits, and Update 0.1.2 made revive checks server-authoritative, capped vehicle fly-through rewards, scaled buildable-destruction rewards to build progress, and reduced rewards for depositing pallets into a FOB from outside its zone. Those are exploit controls, not new recommended money routes. BULKHEAD says economy abuse can trigger cash and XP resets or bans, so legitimate team service remains the safer and more durable approach.
Vehicle and helicopter tips
- Fill seats before departure. A transport’s value comes from the people or supplies it moves.
- Announce the destination. Tell passengers whether you are heading to the Control Zone, a friendly FOB, or a supply point.
- Use covered approaches. Avoid predictable straight lines and open landing zones watched by launchers or anti-air vehicles.
- Drop outside the hottest fire. A short covered walk is better than losing the helicopter and everyone aboard.
- Keep a return route. Leave enough fuel and space to break contact, repair, and make another profitable trip.
- Do not solo crewed combat vehicles. Tanks and attack helicopters become much more effective with a gunner, spotter, repair support, or nearby infantry.
- Preserve expensive equipment. Retreating for repairs is good economy. Abandon only when the vehicle cannot be saved without sacrificing the crew.
- Practice before carrying a full cabin. Helicopter input damping applies across input devices in Season 1, but the flight model still rewards controlled inputs and planned landings.
WARDOGS PC performance and graphics settings
The official Steam requirements target 1080p Low at 60 fps with a GTX 1660 or Radeon RX 590, while the recommended RTX 3070 or RX 6700 XT target is 1440p Medium above 70 fps, or 4K Medium at 60 fps with upscaling. Actual performance will vary by map activity, destruction, player density, and CPU limits.
For a competitive starting point, disable motion blur and depth of field, enable Nvidia Reflex on supported hardware, and test DLSS or FSR at Quality before moving to Balanced or Performance. If large fights still hitch, lower global illumination, shadows, particle density, post-processing, and view distance one step at a time. Keep textures as high as available VRAM allows, since excessively low textures do not always solve a CPU or simulation bottleneck.
A post-launch Destructoid settings test found useful gains from disabling picture-in-picture scopes and global illumination while reducing shadows, shading, reflections, and post-processing. Treat that as a starting profile, not a universal preset. Cap the frame rate at a value your system can hold consistently, and choose VSync based on tearing and latency rather than assuming one setting fits every display.
The Season 1 launch update also made DLSS Frame Generation switchable without a restart, reduced shadow-cache refreshes that caused hitches when taking control of a character, and improved GPU crash reporting. If performance changes suddenly after an update, rerun the game’s benchmark and review settings that may have been adjusted automatically.
Final WARDOGS tips
- Protect your cash by buying several useful lives instead of one fragile luxury kit.
- Choose a weapon for the distance you will actually fight at.
- Use binoculars, revives, transport, supplies, and objective time to earn without relying on kills.
- Buy vehicles for a defined team job, and preserve them through repairs and safe routes.
- Progress the role that owns your next practical unlock, not the flashiest distant reward.
- Check official WARDOGS announcements before trusting an old price, level, or “best” ranking.
The central lesson is simple: WARDOGS rewards useful survival. A modest player who arrives with the right tools, shares information, and keeps a squad moving can earn more and influence more matches than someone who repeatedly loses the most expensive gear on the vendor screen.
Which WARDOGS role or loadout has been the most reliable for you in Season 1?

Comments
No comments yet. Be the first to share your thoughts.